Large Blank Editable Spider Plan Template
Advisor/Student Select Template Plan
Click here for a PDF version with screen shots.

What is the Student Educational Planner (SEP)?
The Student Educational Planner (SEP) is a resource tool to help students determine which courses to take and when to take them. In order to make the process a little easier for students, Purdue provides prescriptive “paths, plans or degree maps” for majors and programs of study. The goal is to enable students to make informed decisions about their coursework, the sequence of classes for their major, and provide a clear path toward graduation.

Access and Update a Plan
To review, select or customize a recommended plan, click on the Plans tab in the myPurduePlan worksheet. The plans Home page is displayed with the list of educational plans (if multiple plans exist). If only one plan has been created, it will display automatically.

Plan, Degree Map and Path: These are interchangeable and refer to the coursework students need to take to fulfill degree requirements for specific majors in order to graduate. Open the Plan: Double click on the appropriate plan Start Term: Select the start term from the drop down list. This term should match the term you started at Purdue.a) If you begin in a Fall term, select that term, b) if you begin in a Spring term, select the previous Fall term and c) if you begin in a Summer term, select the following Fall term.
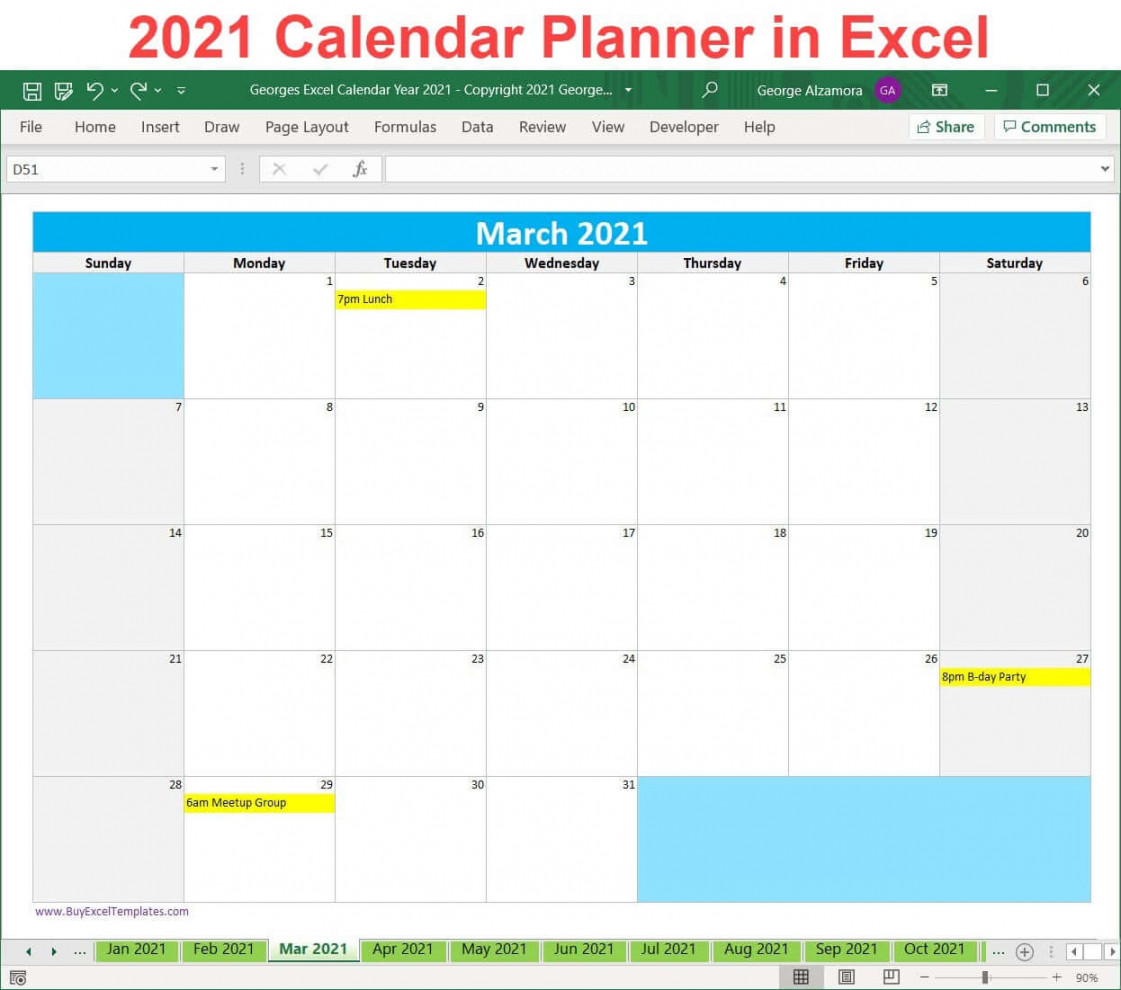
The plan opens in Calendar View, which is the default view.

Description: The name of the plan indicates the major name and the effective term of that plan. Hovering over course listing shows course title and the campus where it is offered. Click on the course listing to see course description with prerequisites
Select Audit View. The worksheet and plan are displayed side by side. Courses can be dragged from the worksheet to the audit.
Select Edit View.
An Active check box indicates that the plan is current and active. Students may have multiple plans; however, only one may be checked active. Course Requirement: The course(s) which satisfy degree requirements.o Choice Requirement: A list of 10 courses or less which satisfy a degree requirement.o Placeholder Requirement: A requirement which cannot be categorized under the other available types. Example: University Core – Quantitative Reasoning 3 Credits.o Non-course Requirement: An academic requirement (not a course) which satisfies a degree requirement. Example: AT01 – Globalization meets a requirement for BS in Aviation Technology. Requirements for each term are displayed, including total credits for each term. (Total credits do not include the Placeholder requirements.) On the right-hand side of the screen in separate boxes, the lists of Still Needed courses are displayed. Edit a Plan
Complete the following steps to edit a plan:
Search for and open the plan you want to edit. Plans cannot be deleted by students. Other editing tools that can be used: Click the Expand Icon to Expand all terms. (Icon located in the top right corner, fourth from right.) Move Classes: You may move a course from one term to another. Select a course requirement, drag it from the current term, and drop it in another term (e.g. drag from Fall 2013 and drop in Spring 2014). Reassign Terms: You may reassign all courses from one term to another using the Reassign button (e.g., move all courses from Fall 2014 to Fall 2015. Click the Reassign button. Select the term you want. Click OK. Click Save. The plan is updated. Add a Course Requirement to a Term
Complete the following steps to add a Course requirement to a term.
Click the Plus icon on the term to which you want to add the requirement. The list of available requirement types is displayed. Select Course(s) from the list. The course fields are displayed on the term. Click inside the box under Course Requirement, and enter the subject and course number. To search for a course, click the Magnifying Glass icon. Enter a part of or the full name of the Course or Title, and click Go. The courses that match the text you entered are displayed. Select a course. Tab over and the credits will auto populate. Select the course that you want to specify as a requirement. The course is displayed in the Course Requirement box and the credits for that course are displayed in the Credits box. Requirements are saved when the plan is saved. Click the Save button in the lower right-hand corner. Add a Variable Credit Course Requirement to a Term
When adding a variable credit course (e.g., BIOL 59500), follow the directions above to add a course. Note that the system automatically populates the credits to the maximum number of credit hours available. You will need to change this to accurately reflect the number of credits you are planning to pursue (e.g., change 18 credits to 3 credits).
Drag and Drop a Course Requirement to a Term
You can also drag and drop a course requirement from a list of courses into a term on a plan. Complete the following steps to access the course list and insert a course from there into a term:
You can access the Still Needed courses list for the list of courses that still need to be completed. The Still Needed list of courses corresponds with the still needed courses on the worksheet that have not been met. Hover on the course name to see the course details. The Course Information window is displayed with the course name, title, and minimum credits. Click on the desired course and drag it to the term box. Requirements are saved when the plan is saved. Click the Save button in the lower right-hand corner. Select a Template Plan
Complete the following steps to select a template plan: Note: Be sure that you allow popup windows.
myPurduePlan will open to the Worksheets tab. Click on the Plans tab. Click New Plan on the plans home page. (The Create Plan box is displayed.) Click Select Template. A list of existing template plans is displayed. Select the appropriate Major and Catalog Term by double clicking. (Catalog Term: The term in which the plan of study will reflect the degree requirements.) Pop-up window appears requesting you to select a Starting Term. Select the appropriate term you will begin your enrollment at the University. a) If you begin in a Fall term, select that term, b) if you begin in a Spring term, select the previous Fall term and c) if you begin in a Summer term, select the following Fall term. After selecting a Start Term, click OK. The prepopulated template for that major will appear. Click the Expand Icon to Expand all terms. The Active box should be checked. Click the Save button in the lower right-hand corner. You can now begin reviewing and modifying the degree requirements.